A quick beginner’s guide to animation
To “animate” means to breathe life into things. In these 5 exercises we make stones come alive.
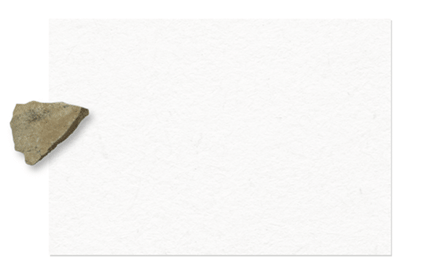
Preparation
To get started I suggest this simple setup for you to try at home:
- Install the free Stop Motion app on your phone (Android, iOS).
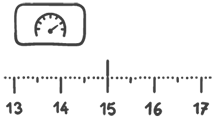
- Get familiar with the app and set it to 15 frames per second.
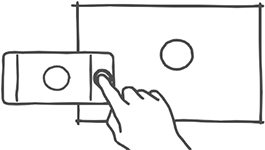
- Fix your mobile phone so that the camera faces a piece of paper. Use a tripod or whatever does the job.

Ready? Let’s go!
Thinking in time
Stop-motion is simple: Take a picture, move the object, take the next picture, move the object, etc.
Once you are done, you can play back all those images as a little movie.
Tip: You can do the following exercises exactly as shown here or play around with them. Just make sure to have fun!
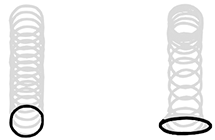
Exercise 1: Timing
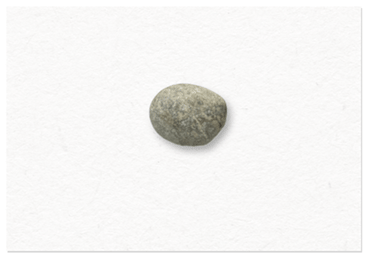
Turn a stone into a bouncing ball.
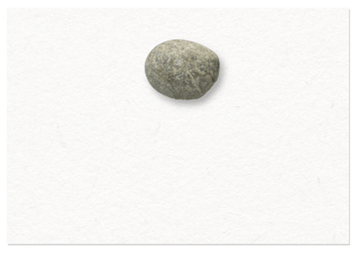
Start with a stone above the middle of the page and hit the record button. Then move it down a little, take the next frame, move it again, and so on. Once it has reached the bottom, gradually move it up again until it is back to its starting position.
Tip: At first you will notice that our steps are too big. As a result the animation plays way too fast! Just start over and make the steps smaller.
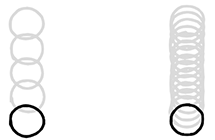
Another tip: You can make the movement more natural by varying the distances. And you can make the “ball” look squishy by using flatter stones at the bottom.
Now I can hear you scream:
“Why should I waste my time on old-fashioned stop-motion when there is software that can do that much easier?”
Well, because it is not about the result, it is about you! We have to get a gut feeling for the motion of things so that we can better imagine it. Stop-motion exercises like this one are a fitness workout for our imagination.
Also: stop-motion is cool.
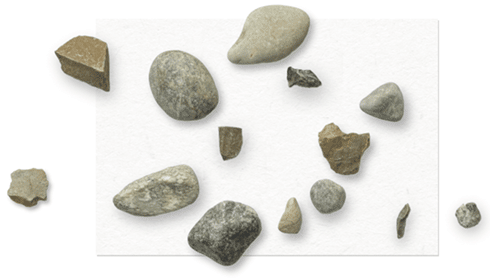
Exercise 2: Matter
Give the stone different material properties.
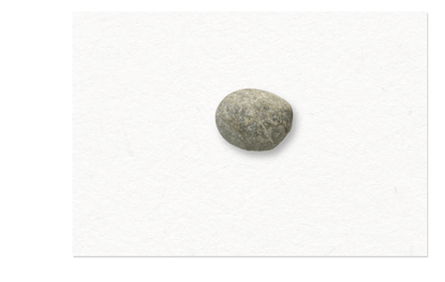
We can suggest physical properties just by movement. As we have seen before, the stone looks bouncy if we vary the distances. Now, let’s have some fun and make it look heavy, brittle, sticky, soft, hard, or whatever comes to mind.
Tip: Exaggerated or even unrealistic movements can appear more realistic—even if they are “wrong”. Just like drawing, animation is about exaggerating what matters.
Micro-Animation
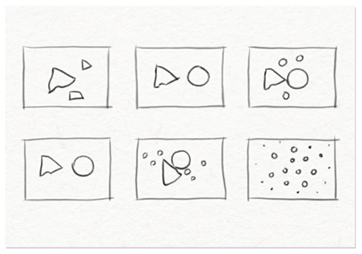
Exercise 3: Transition
Pick two very different stones and animate their transformation.

How we get from one state to the next matters. See how the steps in between give the transformation a different meaning?

Exercise 4: Character
Use human gestures to give the stone a personality.
Let the stone do a little thing that shows what he is up to. Try out gestures from different parts of your body like waving, winking or a little twitch.
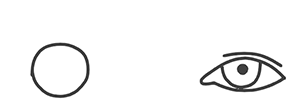
Quite often it is less the look of a character that brings it to life but rather these subtle little movements.
Little side note: Interface designers use micro animations like these to make their apps more engaging and easier to understand.
Story
Exercise 5: Storyboard
Draw a storyboard for a little story.
So far, we just went with our gut and made little intuitive animations. The next step is to make a plan for a slightly bigger narrative using a storyboard.
The basic idea is to start with a piece of paper with frames of equal size.
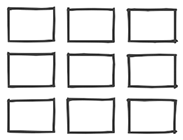
Then we fill these frames with our story, similar to drawing a comic.
I like to draw the key frames first. Key frames show the most important states of a story. These keyframes help us understand what the core idea of the story is.
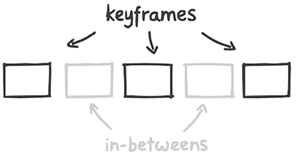
Once we are sure of the keyframes, we can carefully fill in the less important frames in between.
Tip: If you need to brush up your drawing skills, check out A quick beginner’s guide to drawing.
When it comes to storyboarding there is a temptation to go for lengthy epic dramas. At least for this exercise, let’s make sure to keep your story simple and short. Here are some tips for good stories:
- Include a surprise.
- Let the main character go through a transformation.
- Get to the point: focus on what you have to say—or show!
Equipped with a solid storyboard it is much easier to take on more complex animations.
Imagination in time
You might still wonder, why we use this “primitive” animation technique and not some fancy production software or even fancier AI tools.
My stance on this is clear: If you want to learn how to make good animations, don’t waste your time looking for the perfect animation tool. Instead, focus on how to show your thoughts in time.
Simple tools make good craftsmen. And good craftsmen have great ideas.
Before you go
If you enjoyed this article, then subscribe to my mailing list to receive more animated stories!
Cool, thanks for sharing.
I’m going to get a stone!
Hey Ralph! loving your writing from way back your TedTalk days! I’ve made a major transition from tech to the arts in the meantime.
Was always curious what your simple setup for your animations was? Do you just draw on iPad and screen record or playback?